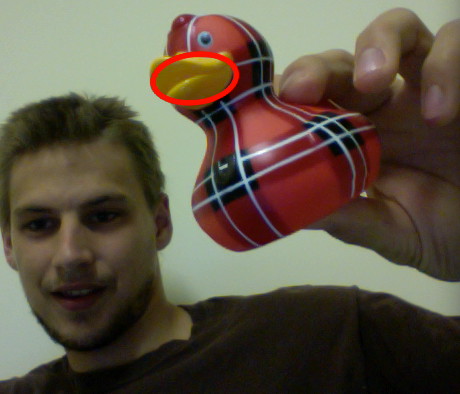
I have recently been playing with OpenCV in Python for webcam image analysis. This real time analysis of camera footage can be of real benefit to some of the microscopy techniques that I work on. Here however is a more lighthearted project which I created for a talk I am giving in a local school. The program tracks a yellow object and uses it to control the mouse position (see vid below). I thought it would be fun to replace the overused laser pen with a rubber duck for the presentation and show the kids how easy it can be to achieve what at first looks like complex tasks with some basic programming. Full code given at the bottom of the page.
First a brief bit of background. OpenCV is a cross platform, open source computer-vision library created by Intel. This means it is free to access by anyone and will work on any operating system. I am using a Python implementation of OpenCV in this example. Python is a fantastic language to start out with. The syntax is very simple and it works as both a basic scripting language and a higher level object orientated programming language. In short it is easy to pick up by those with little programming experience but is capable, when in the right hands, of producing complex programs using techniques that are now commonplace in the more, shall we call it, 'professional' languages such as C. Python is again open source and cross platform so is free to use by anyone on any computing system.
I have been really impressed at how accessible OpenCV is. It has a lot of very powerful functions built in and with Python does not require extensive programming knowledge to access this potential. It really is straightforward to capture and display webcam images and perform object tracking or face recognition type tasks. It also seems to be massively under-reported on the web, hence why I thought I would add this example which is a slight twist on some of the others out there.
The code is given in full below, it is fairly extensively commented and also provides some additional functionality so dont be too taken aback by the length of it. There are some bonus features built in that are not necessary for simple tracking. I will give a brief overview here but is should be reasonably obvious what is happening by following the code (Hint: start at def main() at the bottom)
Tuesday, 22 November 2011
LaserDuck.py - Coloured object tracking from webcam image using Python + OpenCV
Subscribe to:
Comments (Atom)